The Steam Deck is like any other console, with its own operating system. You are allowed to download third-party applications on it with the help of the handy Desktop Mode that the Steam Deck has implemented.
Installing Origin is hard, follow this guide step by step to install the Origin Launcher successfully on your Steam Deck.
How to Install the Origin Launcher – Steam Deck
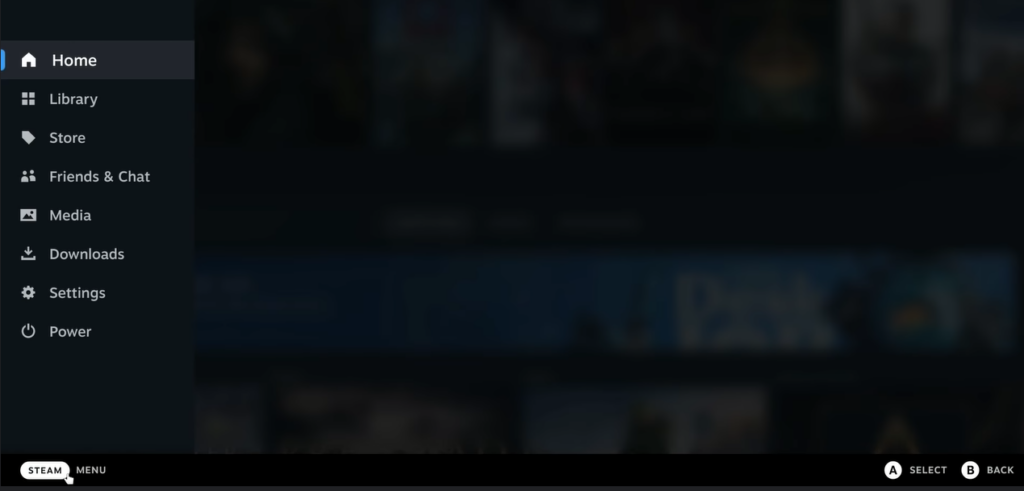
Starting, you want to begin in the Steam Operating System location and open up your Steam OS button on the bottom left corner of the screen. From there you will want to go to the “Power” option and switch to “Desktop Mode”
Once you have switched to the Desktop mode, open up Mozilla Firefox and download the Origin installer for the PC version.

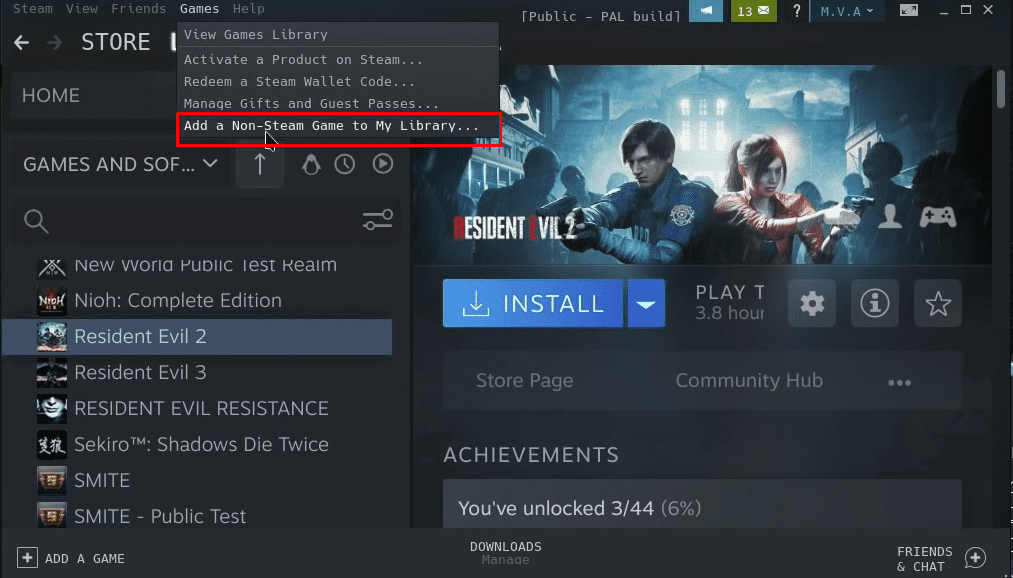
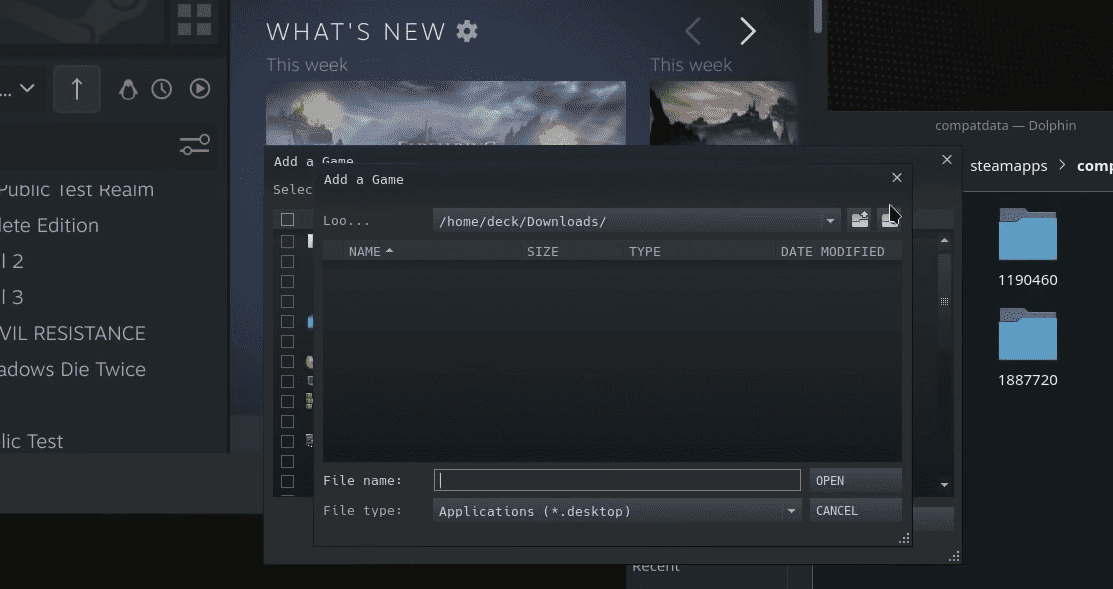
The next step is to go to the game’s option in the Steam application and select “Add a Non-Steam Game to My Library”
A window will open up, and give you an option to select a game to add to your library. Press “Browse” and move back home. From there select “Deck” and then “Downloads” to find the “OriginThinSetup.exe”
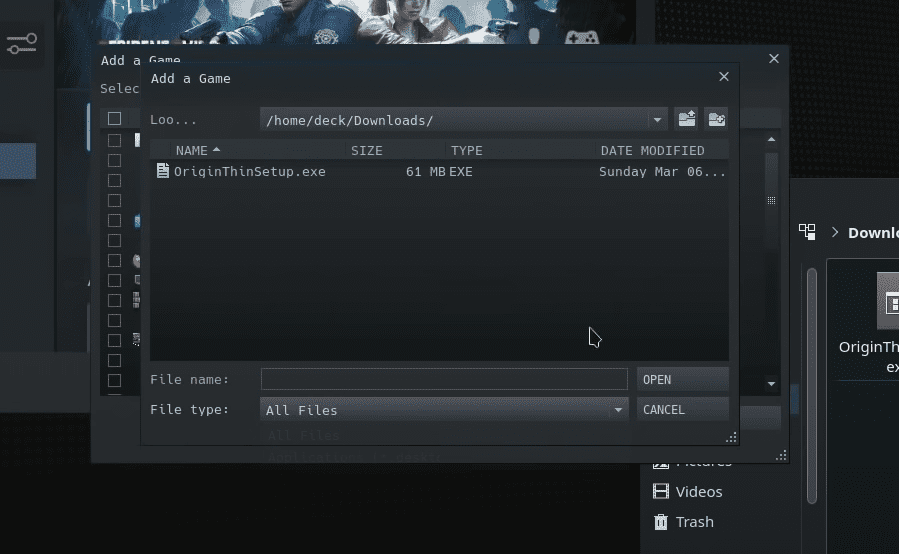
/home/deck/Downloads/
And in this window if you don’t see anything, simply switch the “File type:” to All Files, this option will show up the Origin installer.
Once you have opened up the installer, add it to your library. From there you want to open the “Property” window of your Origin Launcher from the Library itself on the Steam Application.
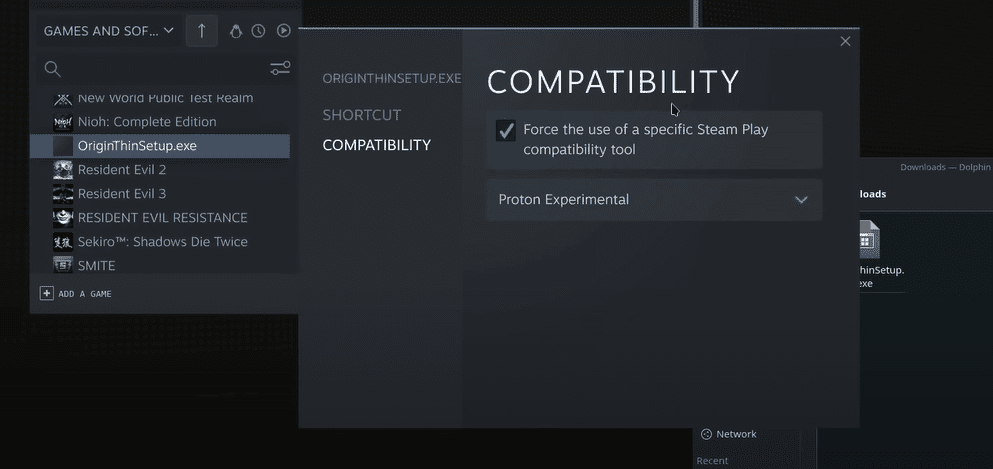
There you will find the Compatibility option that is not selected, select the Compatibility tool, this will force the application to work and not crash.
If the Proton Experimental option seems to work fine for many users, if the Proton Experimental option does not work, simply switch to an older version that works.
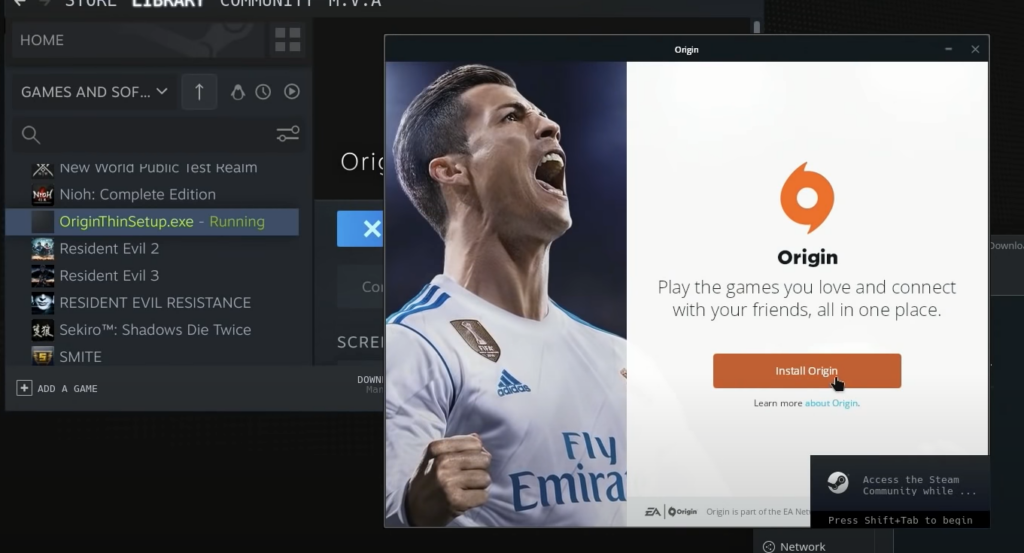
From there, simply press on the big green “Play” button, where the Origin Launcher will be installed.
Once the installation has been complete, there are a few more steps that need to be done for your Origin to work properly and add games.
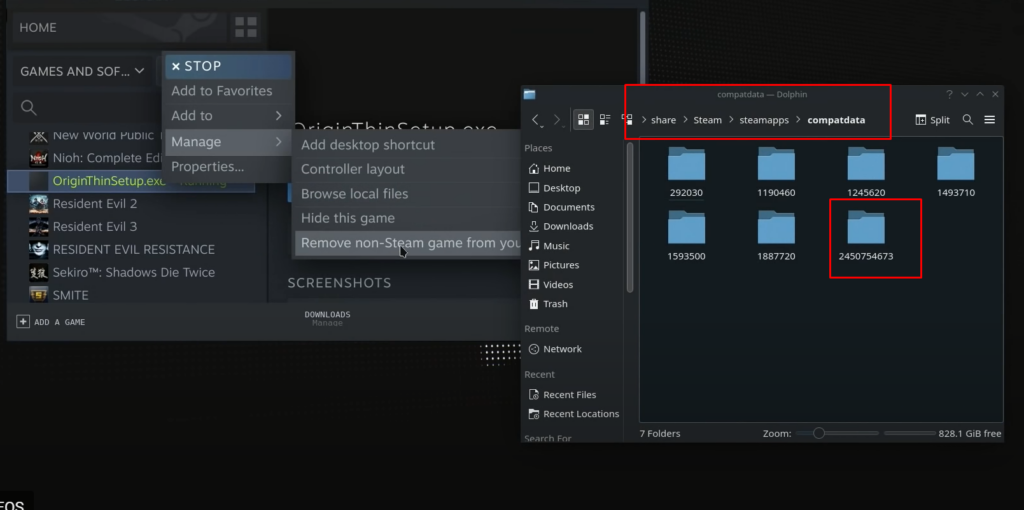
The next step is to remove the OriginThinSetup.exe from the Steam Library. This will only remove the option from the Steam Library, the application is still installed in your folders.
The folder with the biggest number is the non-Steam application that has been installed.
Open up the Games option again to add a non-Steam game from your Library. And this time you will want to add the .exe file from the installed folder.
NOTE: This will be a hidden folder, so go to your Home folder, and select the option to “Show Hidden Folders”, that way you will be able to see where Origin is installed.
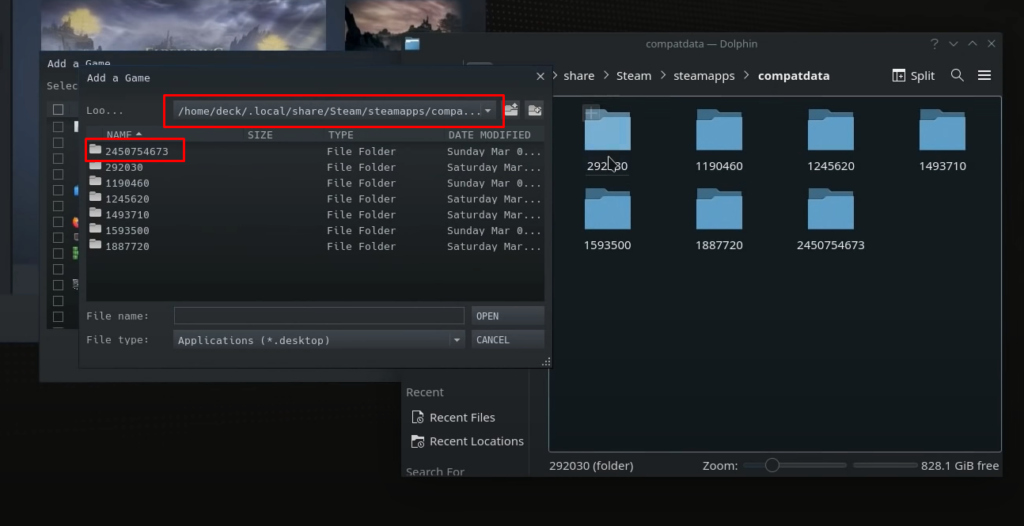
The proper way towards this location is:
Home/deck/.local/share/Steam/steamapps/compatdata
Once you are here, follow up on the date of installation, the most recent date should be the Origin installer, as you have installed that most recently.
Continue opening the folder that contains the Origin application, here you will need to find the .LNK and .EXE files.
Continue your search with:
Home/deck/.local/share/Steam/steamapps/compatdata/((Number of the Origin Install))/pfx/drive_c/users/Public/Desktop
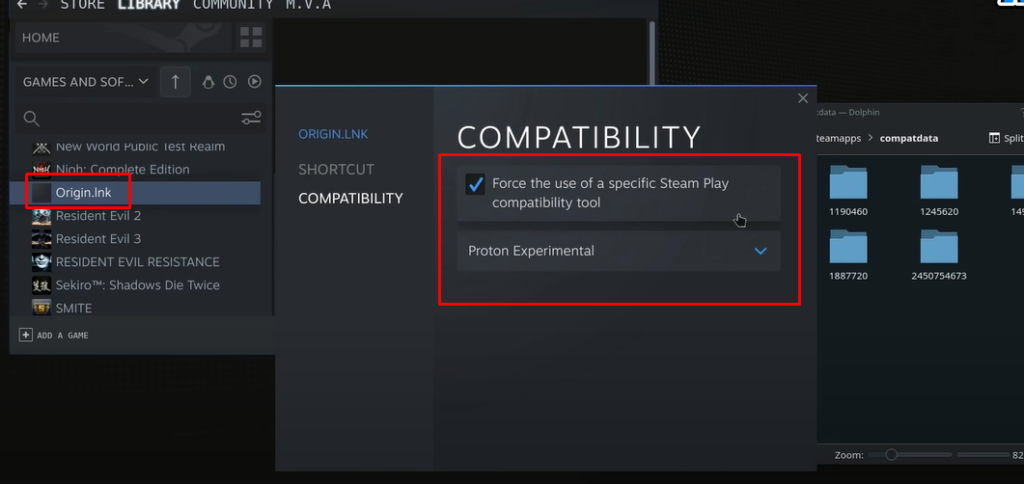
This is where you will find the Origin.lnk file, select it and add it to the library.
Make sure to open “Properties” on your Origin.lnk and select the Compatibility option so the application does not crash.
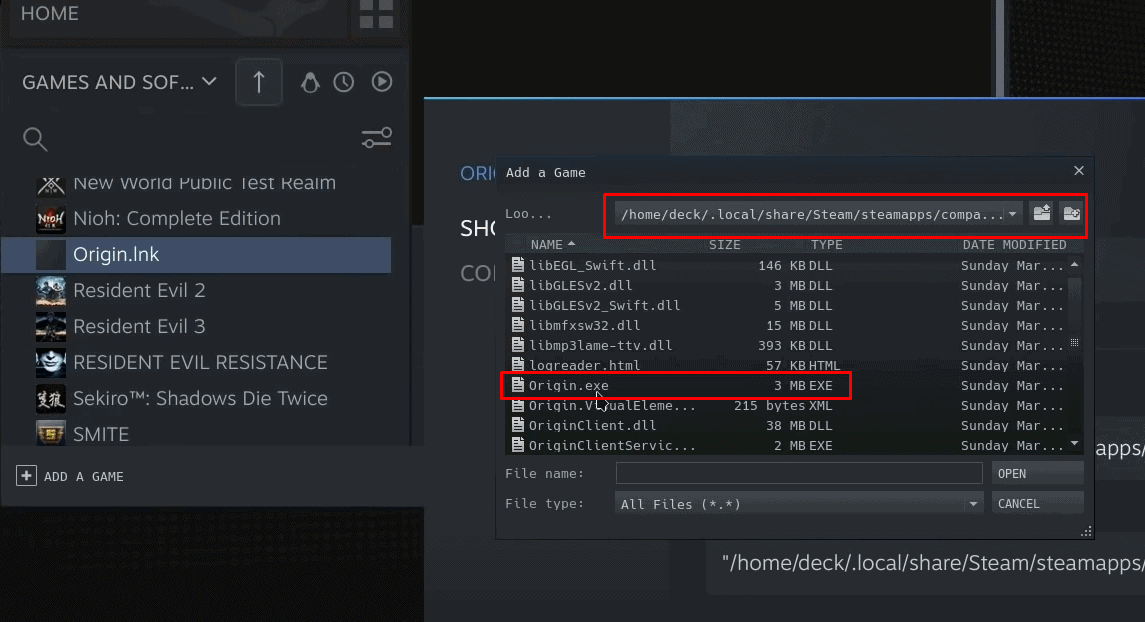
From there you want to go to “Shortcut” and select browse. Here the .exe file will be linked to the Origin.lnk library file.
Home/deck/.local/share/Steam/steamapps/compatdata/((Number of the Origin Install))/pfx/drive_c/Program Files (x86)/Origin/
Once you have found the Origin folder, look for the Origin.exe file and select it.
If you followed all the steps correctly, the last thing to do is close everything and press the Play button for the Origin.lnk and the Origin application will open up so you can select what games you like to play.
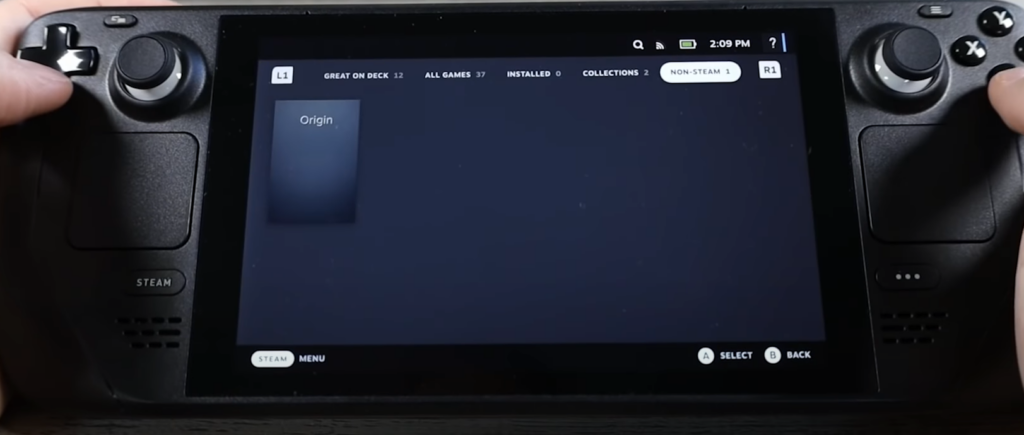
Go back to your Steam Deck and select “Library”, from there go to your Non-Steam applications and you will see Origin.